Using Technology to Make Research Easier
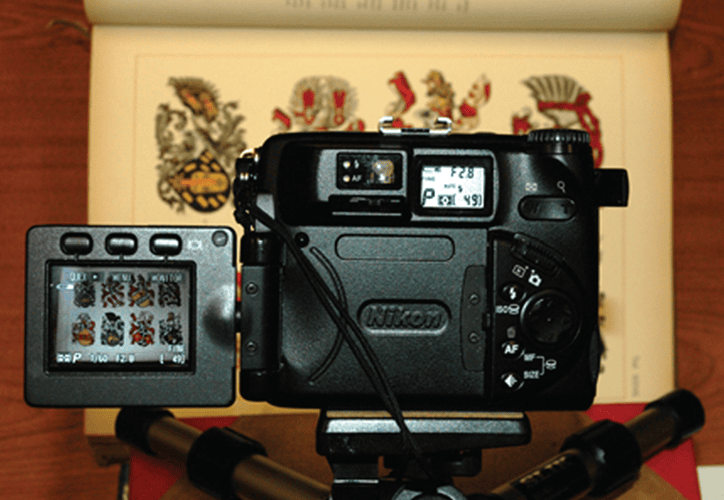
The cover of this issue shows the correct way to compose a digital camera shot for recording archival data or images that will be used subsequently for research. See the article, “Taking a Byte Out of the Archives: Making Technology Work for You.” Photo courtesy Douglas Mudd, one of the coauthors of the essay.
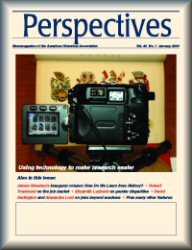
Staff