Teaching, Technology, and Tiananmen Square
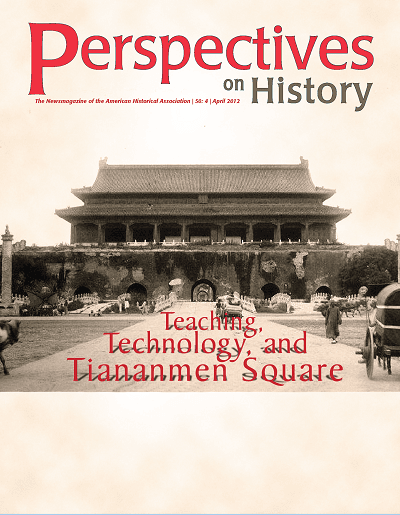
The image on the front cover shows a view of Tiananmen Square, circa 1901. Photo courtesy Wikimedia Commons; composition by Chris Hale.
Staff
The image on the front cover shows a view of Tiananmen Square, circa 1901. Photo courtesy Wikimedia Commons; composition by Chris Hale.
Staff